.png)
Industrial QA • Deployment Readiness
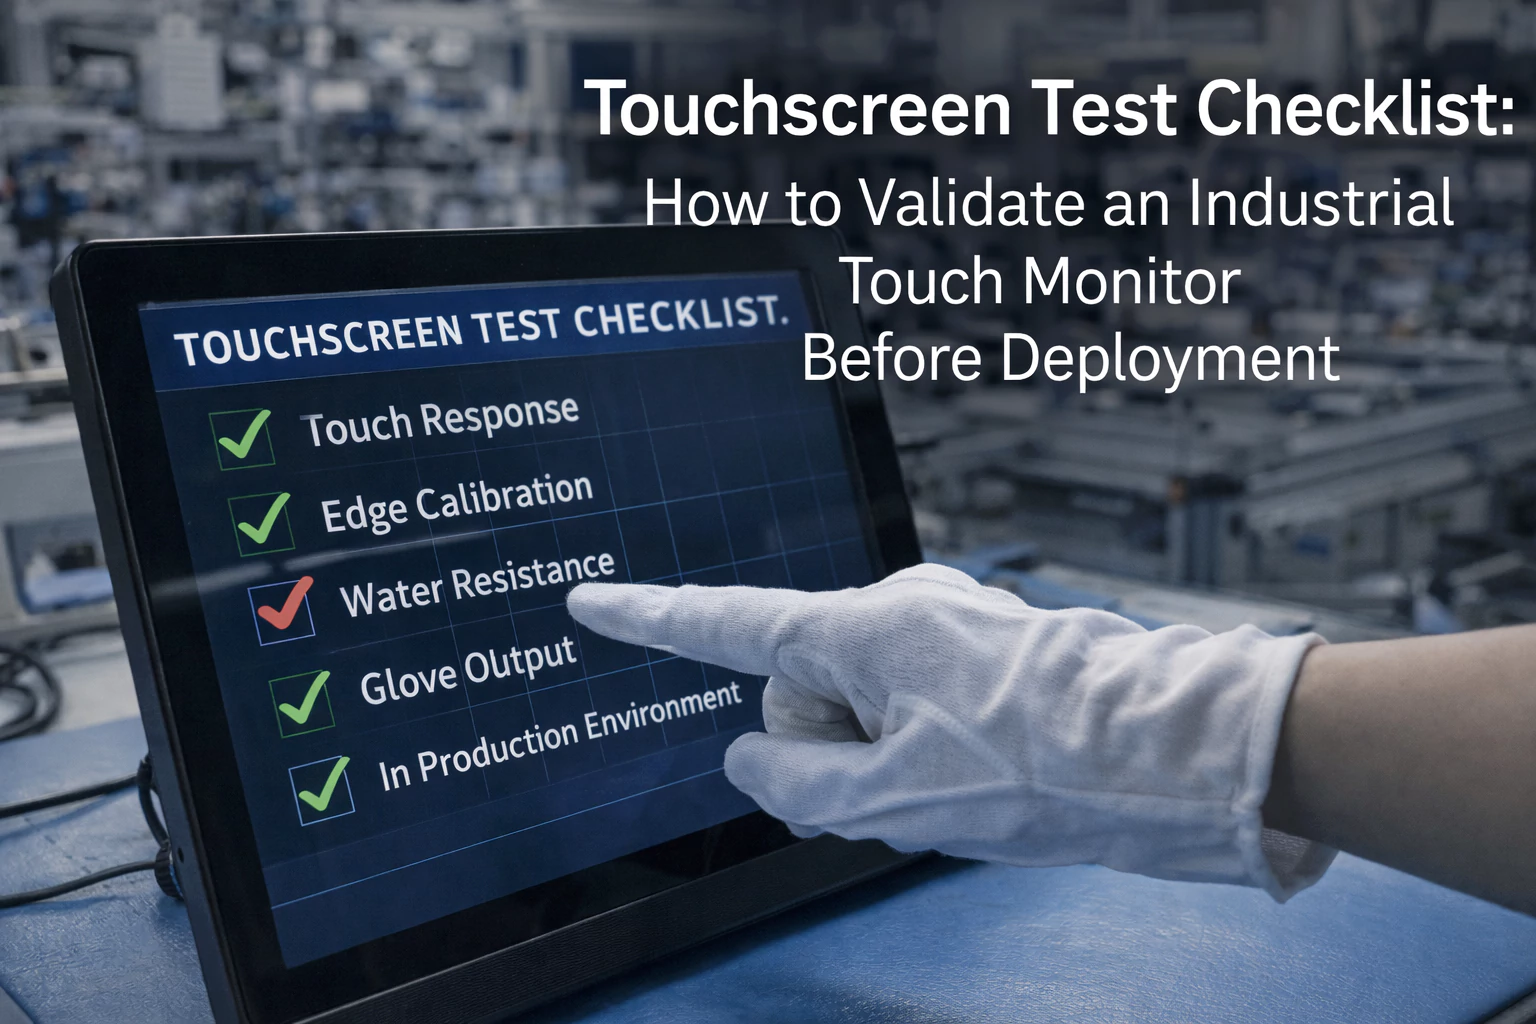
Use this field-friendly checklist to validate touch performance, display readability, and reliability before your industrial touch monitor ships to site. In addition, you’ll get clear acceptance criteria, test tools, and documentation tips so the results are repeatable.
1) Define Scope and Acceptance Criteria
Start with the real use case
First, confirm where the monitor will live: indoor factory, outdoor kiosk, EV charger, marine, or vehicle. Then list the touch conditions: bare finger, gloves, wet surface, or thick cover glass. Finally, record the expected UI behavior, because button size and edge zones affect test outcomes.
Write simple pass/fail rules
Next, define acceptance criteria in plain language. For example: “No false touches during EMI exposure,” “All edges register within 5 mm,” or “No touch lag visible in the target app.” Clear rules reduce debate later, especially across teams.
Align with compliance needs
In addition, note any required standards (ESD, EMI/EMC, ingress protection, vibration, temperature). If you are deploying outdoors, also validate brightness, anti-glare, and optical bonding needs. For outdoor guidance, you can also review our sunlight readable touch display overview.
2) Test Tools You’ll Need
- Known-good signal source: PC, industrial controller, or media player with stable output.
- Touch test software: multi-touch visualizer, edge test grid, gesture test, and long-press detection.
- ESD/Noise basics: ESD gun (if available) or at minimum an ESD-safe workflow and grounding checks.
- Gloves and wet simulation: the actual gloves used on site; plus a controlled mist/spray method if wet use is required.
- Light measurement (optional but ideal): lux meter and viewing-angle check for sunlight environments.
- Thermal and run-in: infrared thermometer, or at least a stable ambient test area for heat soak.
- Documentation: camera or screen recorder, plus a template to log firmware, settings, and results.
3) Pre-Test Setup (Do This First)
Baseline configuration
- Confirm native resolution and refresh rate.
- Record firmware version and controller IC (if known).
- Disable OS touch “enhancements” that hide real lag.
- Calibrate only if your system requires calibration.
Physical inspection
- Check cover lens for scratches, chips, or coating defects.
- Inspect bezel gap and sealing if you claim waterproof or dustproof performance.
- Verify cable strain relief and connector seating.
- Confirm mounting holes and bracket alignment.
If the project requires water or dust protection, reference our waterproof touch screens guide for deployment considerations.
4) Touch Performance Checklist (Core)
Below is a practical sequence. Follow it in order, because each step isolates a different failure mode. Also use transition notes to capture what changed when the issue appeared.
A. Touch accuracy & linearity
- Draw straight lines slowly in all directions.
- Confirm no “wobble” or drift near corners.
- Check small UI targets (8–12 mm) for reliable hits.
If accuracy shifts during long use, suspect grounding, noise, or temperature drift.
B. Edge response
- Tap within 0–10 mm of each edge.
- Swipe from bezel into the active area.
- Repeat with different hand angles.
Edge issues often appear after enclosure integration. Therefore, re-check edges again in section 7.
C. Multi-touch stability
- Verify the required touch points (e.g., 10-point).
- Pinch-zoom and rotate continuously for 60–120 seconds.
- Look for “ghost points” or dropped contacts.
Next, log any drops by time and gesture. This helps firmware tuning later.
D. Latency & responsiveness
- Drag a window or object across the screen.
- Test long-press and double-tap recognition.
- Confirm no “sticky” feeling after quick taps.
If lag appears, check CPU load and USB polling first. Then test on a known-good host.
E. Glove / wet touch (if required)
- Test the exact glove type used on site.
- Repeat accuracy and edge checks with gloves.
- If wet touch is needed, use a controlled mist and test false touches.
Many deployments require gloves. Therefore, do not skip glove tests when specified in the requirement.
F. Palm rejection & false touch
- Rest a palm on the bezel while tapping with a finger.
- Use sleeve contact to simulate real work posture.
- Check for random clicks during vibration or cable movement.
Finally, capture a short video if ghost touches occur. Video evidence speeds up root-cause analysis.
5) Display & Readability Checklist
Image quality basics
- Check uniformity on white, gray, and black patterns.
- Confirm no flicker at the target refresh rate.
- Verify color and gamma are acceptable for the UI.
Sunlight / glare control (outdoor)
- Check readability at multiple angles.
- Verify anti-glare behavior and reflections on dark UI screens.
- Confirm brightness targets are realistic for the installation.
For outdoor deployments, also consider optical bonding and coatings. See sunlight readable touch displays for selection guidance.
6) Reliability & Environment Checklist
EMI/Noise sanity check
- Test near power supplies, motors, or switching loads (if safe).
- Check touch stability when cables are routed differently.
- Confirm grounding and shielding are consistent.
If touch becomes unstable, reduce noise first. Then request tuning support with your test logs.
ESD resilience (practical)
- Use ESD-safe handling during all tests.
- If you have an ESD gun, test typical contact points.
- Verify no reboot, no touch freeze, and fast recovery.
Also document the exact test setup. Small differences can change ESD results.
Temperature & heat soak
- Run the monitor for 2–4 hours at steady brightness.
- Re-test touch accuracy and edge response after warm-up.
- Watch for drift, jitter, or false touches as temperature changes.
If your site has wide temperature swings, repeat tests in a controlled chamber when possible.
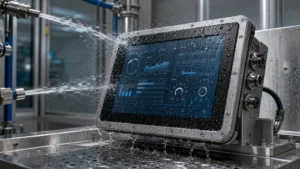
Ingress & cleaning reality
- Confirm gasket fit and bezel sealing if IP protection is required.
- Check touch behavior with light moisture and cleaning wipe residue.
- Verify that coatings do not smear or haze under cleaning.
For waterproof selection and test points, reference waterproof touch screens.
If you are validating rugged installations, you may also review our overview of industrial touch screen displays for harsh environments. It helps confirm which risks matter most for your deployment.
7) Integration Checks (After Enclosure / Mounting)
Many touch problems appear only after the monitor is mounted. For example, mechanical stress can distort the sensor stack. Therefore, repeat key tests after final assembly.
Mechanical stress check
- Verify touch accuracy again, especially corners and edges.
- Check for new dead zones after tightening brackets.
- Loosen and re-tighten to see if the issue follows torque.
Grounding and cable routing
- Confirm chassis ground continuity.
- Route touch cable away from high-current lines.
- Repeat multi-touch stability while moving cables slightly.
8) How to Document Results
- Record the baseline: model, firmware, controller IC, host device, OS, resolution, refresh rate.
- Describe the environment: temperature, lighting, glove type, and mounting condition.
- Log each failure clearly: what you did, where on screen, how often, and whether it is repeatable.
- Capture proof: short video or screen recording for false touches and jitter.
- Summarize decisions: pass, conditional pass (with mitigation), or fail (with required changes).
If you want, we can provide a one-page acceptance template and a recommended test plan matched to your enclosure, UI layout, and environment. Contact us here.
9) Quick Pass/Fail Checklist (Copy/Paste)
Use this short list for a fast gate. Then use the detailed sections above for root cause if anything fails.
Touch
- ☐ Accurate lines in all directions
- ☐ Reliable edge response
- ☐ Stable multi-touch (no drops)
- ☐ No visible lag in target UI
- ☐ Glove / wet touch works if required
- ☐ No ghost touches under expected noise
Display & reliability
- ☐ Readable in target lighting
- ☐ No flicker at target settings
- ☐ Stable after warm-up heat soak
- ☐ No freeze or reboot during ESD checks
- ☐ No new dead zones after mounting
- ☐ Test report completed and archived
FAQ
What is the most important touchscreen test before deployment?
Start with touch accuracy and edge response. Next, verify multi-touch stability. Finally, validate noise immunity and readability in real lighting, because these cause many field complaints.
Should I test touch before or after enclosure integration?
Do both. First, test the monitor alone to confirm baseline performance. Then test again after mounting, because mechanical stress and grounding can change results.
How long should a basic touchscreen validation take?
A quick gate can take 10–20 minutes. However, a complete checklist with heat soak and integration checks often takes several hours. The exact time depends on your risk level and environment.
What causes ghost touches in industrial installations?
Common causes include poor grounding, noisy power, cable routing near high-current lines, and mechanical stress after mounting. In addition, wet conditions or incorrect glove settings can trigger false touches.
What should I send a supplier for faster support?
Share your spec sheet, UI layout, and environment details. Also include firmware version, controller IC, and test videos. Then we can recommend a suitable configuration and tuning plan.
Need a deployment-ready test plan for your kiosk, EV charger, or industrial HMI? Send your requirements here, and we’ll propose a checklist and acceptance criteria tailored to your project.