Industrial Monitor Selection Guide
Panel Mount vs Open Frame Touch Screen Monitor Guide
Panel mount and open frame touch screen monitors are both used in industrial equipment, kiosks and HMI enclosures, but they solve different integration problems. Choosing the wrong structure can create sealing gaps, service difficulty, poor appearance, weak mounting strength or unnecessary customization cost.
Quick Answer
Choose a panel mount touch screen monitor when the display must install directly into a cabinet or machine panel with a finished front surface, predictable cutout and easier replacement. Choose an open frame touch screen monitor when the display will sit behind a custom kiosk bezel, vending enclosure, EV charger front panel or other customer-designed housing.
The right choice depends on who controls the mechanical design. If EverGlory provides the finished front structure, panel mount is usually safer. If the equipment builder owns the enclosure, front glass alignment and service design, open frame can provide more flexibility.
Simple Difference
A panel mount touch screen monitor is designed to be installed through a cabinet or machine panel, usually with a front bezel, flat front glass or sealed front structure. An open frame touch screen monitor is designed to be built into another enclosure, kiosk or fixture where the customer controls the front mechanical design.
Both formats can use PCAP touch, high-brightness LCDs, USB touch output, HDMI/VGA/DP input, custom cable exits and industrial metal housings. The difference is not only the electronics. It is the mechanical responsibility around mounting, sealing, appearance and service access.
Comparison Table
| Item | Panel Mount | Open Frame |
|---|---|---|
| Best use | Machine cabinet, industrial HMI, control panel | Kiosk, vending, custom enclosure, display integration |
| Front appearance | Usually finished with bezel, flat glass or sealed front | Final appearance depends on customer enclosure |
| Sealing | Can support IP-rated front panel design | Depends heavily on enclosure design |
| Mounting | Panel cutout, clamps, studs or rear fasteners | Side brackets, rear brackets or custom frame |
| Service | Often easier for industrial cabinet replacement | May require opening the whole kiosk or enclosure |
| Design risk | Wrong cutout or gasket compression | Weak mechanical support or front glass alignment |
When to Choose Panel Mount
Choose a panel mount touch screen monitor when the display will be installed directly into an equipment panel and the front side must look finished, sealed or easy to service. This structure is common in industrial control cabinets, production equipment, testing machines, marine equipment, medical carts and factory HMI stations.
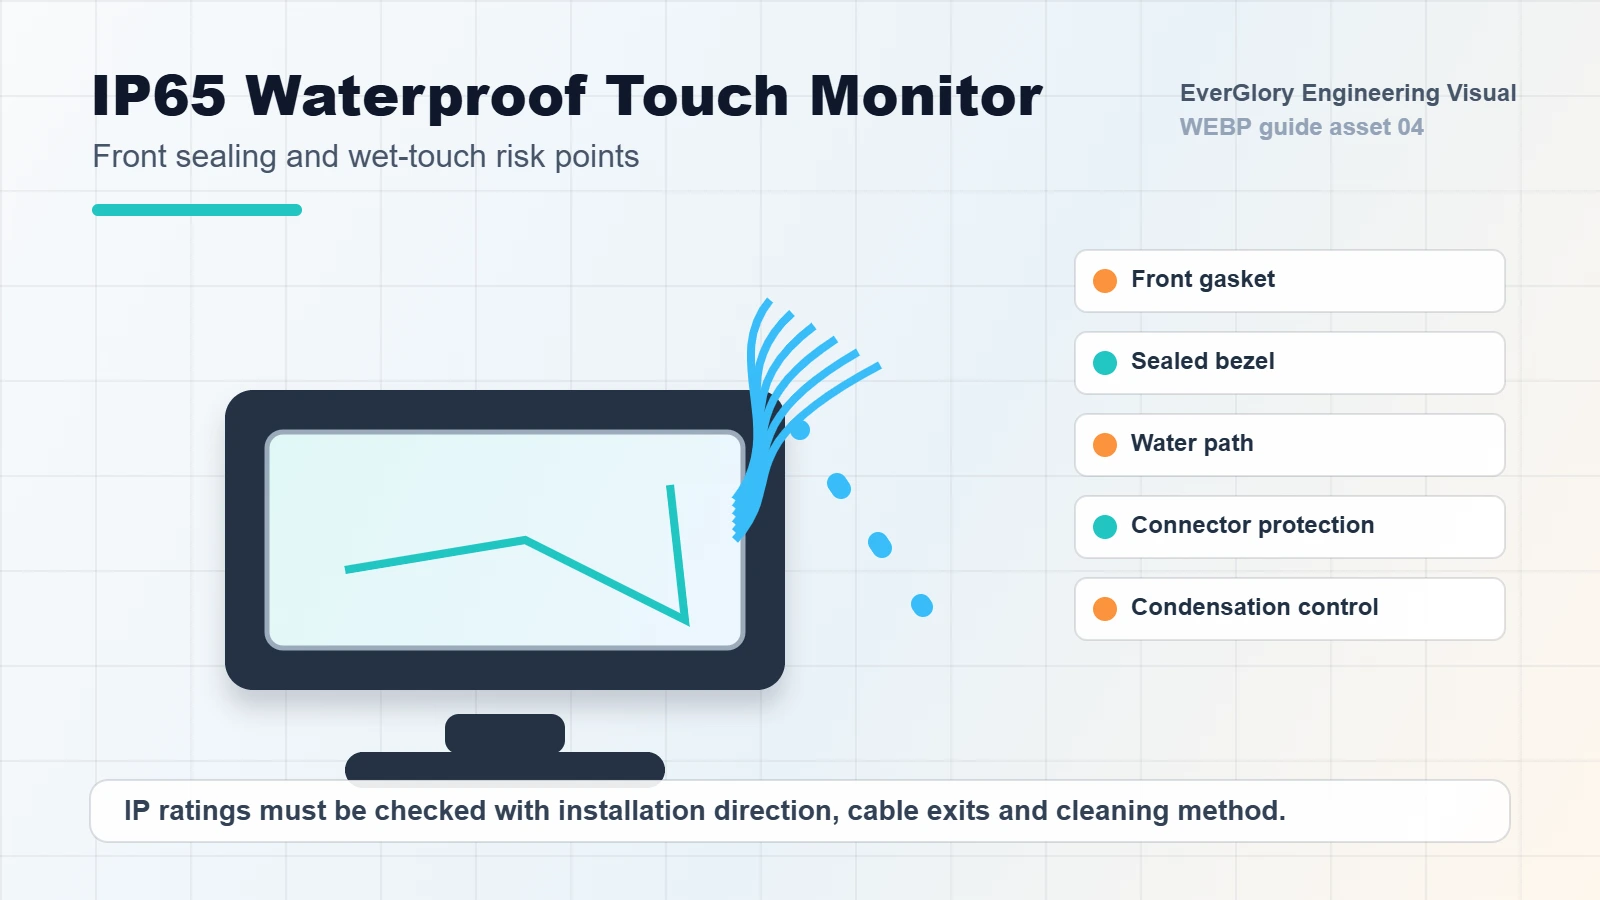
For IP65 front-panel projects, panel mount design usually gives a clearer sealing path. The cabinet cutout, gasket compression, screw torque and panel flatness must still be reviewed before production. A good panel mount specification should include cutout dimensions, front panel thickness, mounting depth, cable direction and expected service method.
When to Choose Open Frame
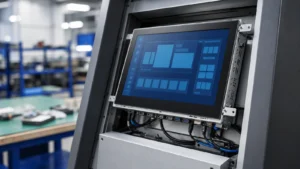
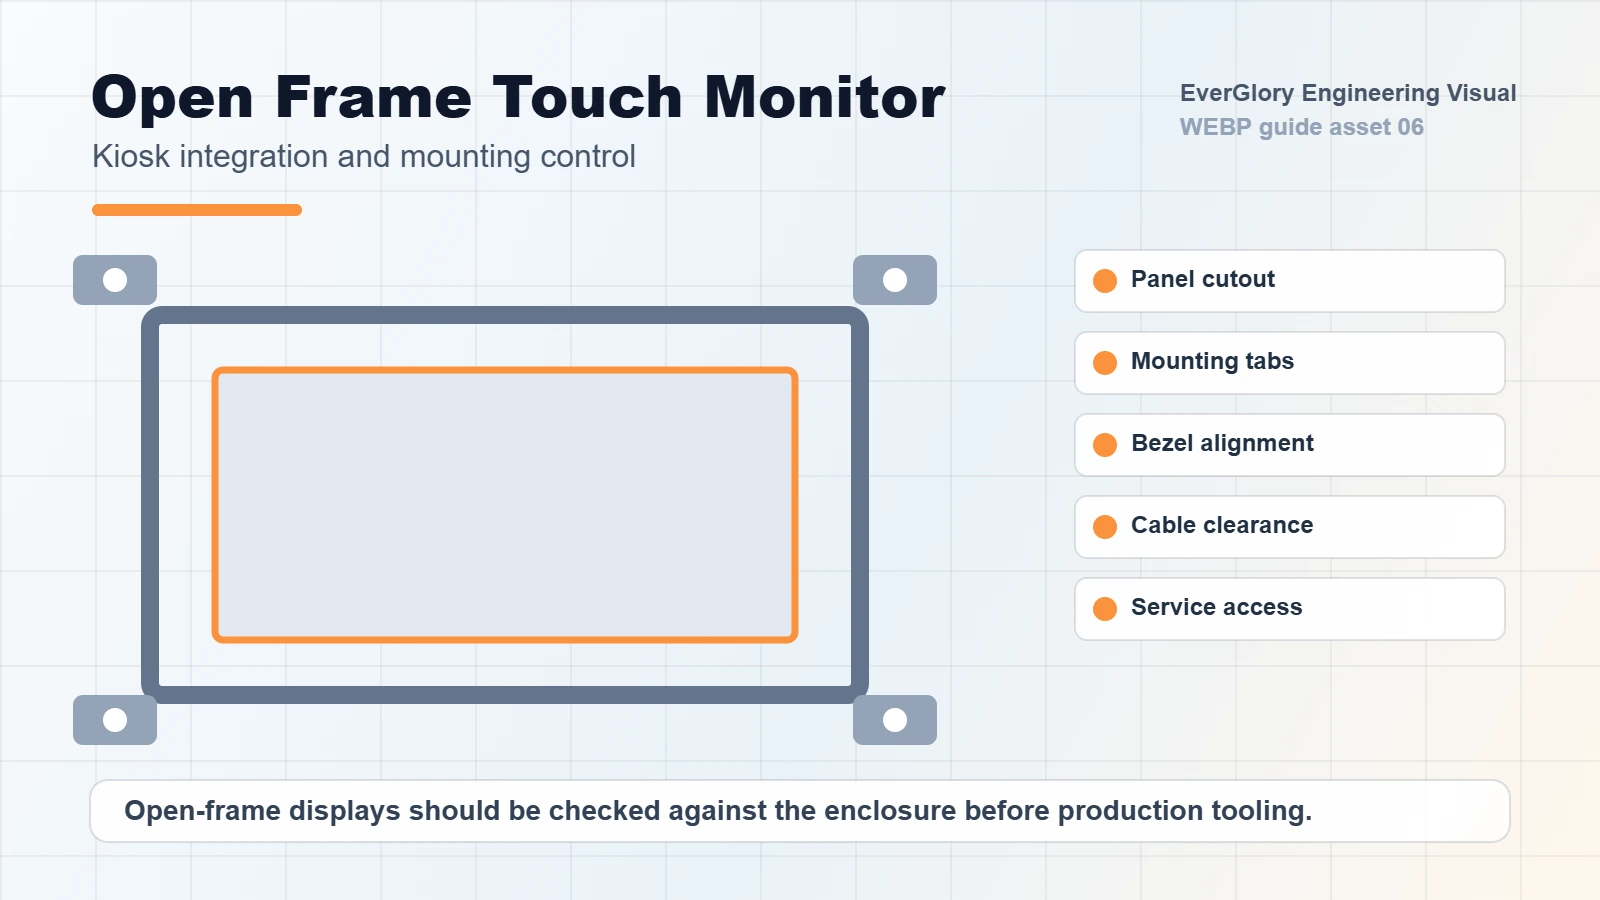
Choose an open frame touch screen monitor when the product will be hidden behind a kiosk bezel, vending enclosure, EV charger panel or custom housing. Open frame design can reduce visible frame constraints and give the equipment manufacturer more freedom over appearance.
The main risk is mechanical responsibility. The customer enclosure must hold the display, protect the glass edge, control dust or water entry and allow service access. If the enclosure design is weak, the touch monitor may fail even if the display itself is correct.
Decision Flow for OEM Projects
- Decide who owns the front design: supplier finished front, customer kiosk bezel or shared custom structure.
- Check the installation direction: front insertion, rear insertion, side bracket, clamp, stud, VESA or custom frame.
- Confirm sealing needs: no IP, front IP65, dust only, splash resistance or fully protected enclosure.
- Review service method: front replacement, rear access, full enclosure removal or modular service tray.
- Lock the interface path: cable exit, connector space, bend radius, USB touch, HDMI/VGA/DP/LVDS/eDP and power input.
- Validate the drawing: cutout tolerance, screw position, bracket strength, glass edge clearance and thermal space.
Mounting Architecture Matrix
Panel mount and open frame are not the only two structures a buyer may compare. In real OEM projects, the decision usually sits between panel mount, open frame, VESA/rear mount and touch display module integration. This matrix helps identify the right path before mechanical drawings are locked.
| Structure | Best Fit | Buyer Controls | Main Risk |
|---|---|---|---|
| Panel mount monitor | Industrial HMI cabinet, machine control panel, equipment front panel. | Cutout, panel thickness, screw/clamp position, service access. | Wrong cutout, uneven gasket compression or insufficient rear depth. |
| Open frame monitor | Kiosk, vending, EV charger, custom enclosure and hidden-bezel design. | Front bezel, bracket, glass edge protection, enclosure appearance. | Weak support, dust/water path, poor glass alignment or difficult service. |
| VESA / rear mount monitor | Workstation, wall arm, equipment bracket or semi-finished installation. | Arm/bracket strength, cable routing, operator viewing position. | Vibration, cable strain, poor ergonomics or exposed connectors. |
| Touch display module | Embedded OEM device where the customer owns the full housing. | LCD stack, cover glass, FPC/cable, controller board and enclosure. | More engineering responsibility, longer validation cycle and interface mismatch. |
Specification Checklist
- Screen size, resolution and active area
- Cutout size, outside dimensions and mechanical drawing
- Front bezel, flat front glass or custom cover glass requirement
- Touch technology: PCAP, glove touch, wet touch or resistive
- Brightness target and viewing environment
- Interface: HDMI, VGA, DP, LVDS, eDP, USB, RS232 or custom cable
- IP rating, impact requirement and operating temperature
- Mounting depth, cable exit direction and service access
- Power supply voltage, connector type and grounding method
- Expected annual quantity, lifecycle plan and customization scope
Size and Interface Decisions Buyers Commonly Miss
Many buyers compare panel mount monitors by size, touch type and interface before they compare suppliers. A useful specification should define whether the project needs PCAP touch, HDMI or embedded display input, available mounting depth and the expected installation structure.
| Decision | Practical Guidance | What to Send EverGlory |
|---|---|---|
| 10.1-12.1 inch | Good for compact machine panels, small test equipment, embedded controllers and limited cabinet space. | Active area, bezel limit, touch interface and whether full HD is required. |
| 15-17 inch | Common for industrial HMI, production line panels and control cabinets where operators need clear data and buttons. | Cutout, available depth, mounting method, HDMI/VGA/DP or LVDS/eDP need. |
| 21.5-24 inch | Useful for kiosk, scheduling, monitoring and control panels with richer UI or multi-window display. | Brightness, orientation, bracket strength, service path and cable exit direction. |
| 27-32 inch | Better for kiosk, signage, control room, public terminal and large HMI surfaces. | Open frame support, weight, glass protection, thermal space and impact risk. |
| HDMI / VGA / DP | Best for finished monitors and host PCs where standard video output is available. | Host output, resolution, cable length, touch OS and power supply voltage. |
| LVDS / eDP | More common for embedded display modules or custom controller board integration. | Mainboard model, pin definition, cable length, backlight power and touch interface. |
Common Installation Risks
| Risk | Where It Appears | How to Reduce It |
|---|---|---|
| Glass edge pressure | Open frame kiosk bezel or tight front panel | Leave controlled clearance and avoid uneven pressure on the cover glass. |
| Gasket compression error | Panel mount waterproof installation | Confirm gasket material, cabinet flatness, torque and cutout tolerance. |
| Cable bend or connector collision | Shallow cabinet or rear service space | Review cable exit direction, connector height and bend radius on the drawing. |
| Weak bracket support | Open frame monitor in large kiosk or vending machine | Add side brackets, rear support or a rigid carrier frame. |
| Touch instability after assembly | Long USB cables, poor grounding or metal enclosure noise | Test PCAP touch with the final enclosure, cable length and grounding method. |
Panel Mount vs Open Frame: What the Supplier Must Review
For a panel mount monitor, the supplier should review whether the front gasket has a stable compression path, whether the cutout leaves enough edge support and whether the rear connector direction can be serviced. For an open frame monitor, the supplier should review how the customer enclosure supports the display weight, protects the cover glass edge and prevents dust or water from collecting near the LCD and controller board.
- Cabinet cutout: include tolerance and corner radius, not only nominal width and height.
- Panel thickness: affects clamp, stud or screw length and gasket compression.
- Rear depth: include connector height, cable bend radius and service hand space.
- Front opening: for open frame projects, define visible area, glass overlap and bezel pressure.
- Grounding: PCAP touch stability can change when the monitor is assembled into a metal enclosure.
- Vibration: large open frame displays need more than corner screws if installed in moving equipment.
Panel Mount Drawing Details to Provide
For panel mount projects, the drawing should show more than outside dimensions. Provide the panel cutout size, corner radius, front panel thickness, available rear depth, screw or clamp position, gasket contact area, cable exit direction and whether the monitor must be removed from the front or rear.
If the monitor needs front IP65 protection, include the cabinet material and flatness expectation. A strong monitor cannot seal correctly against a warped or uneven mounting surface.
Open Frame Drawing Details to Provide
For open frame projects, share the enclosure front bezel, glass opening, bracket position, screw points, cable clearance, service door and final appearance requirement. The open frame monitor should be reviewed inside the equipment structure, because the enclosure controls alignment, sealing and protection.
If the product is a public kiosk, EV charger, vending machine or ticketing terminal, also review impact risk, water path, service access and screen replacement process before tooling.
Related EverGlory Resources
RFQ Recommendation
If you are not sure whether your project needs panel mount or open frame design, send the equipment drawing, front panel photo, required screen size, installation depth, IP target, cable direction and service plan. EverGlory can review the structure and suggest a practical monitor format before tooling or sample production.
FAQ
Is panel mount better than open frame?
Not always. Panel mount is usually better for finished industrial cabinet installation. Open frame is better when the display is integrated into a custom kiosk or enclosure.
Can an open frame monitor be waterproof?
It can be used inside a waterproof enclosure, but the final waterproof result depends on the enclosure, front glass, sealing path and assembly quality.
What size is most common for industrial touch screen monitors?
Common sizes include 10.1, 12.1, 15.6, 17, 18.5, 21.5, 23.8 and 32 inch, but the best choice depends on cabinet space, viewing distance and user interaction.
What drawing should I provide for a panel mount monitor?
Provide cabinet cutout size, available depth, front panel thickness, screw or clamp position, cable exit direction and any IP or impact requirement.