Industrial Display Defect Diagnosis
How to Identify Industrial Display Defects and Decide Repair or Replacement
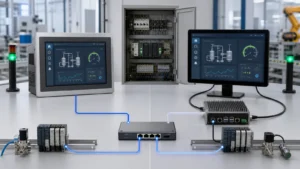
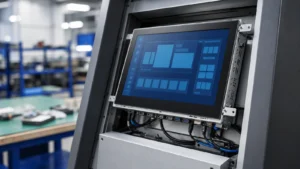
Industrial display defects can come from the LCD panel, backlight, touch sensor, controller board, video cable, power supply, enclosure stress or application environment. A useful repair process starts by identifying the defect pattern, then separating display defects from touch defects, cable defects and host-system problems. This guide gives a practical diagnostic path for OEM equipment, factory HMIs, kiosks and industrial touch monitors.
Quick Diagnosis Answer
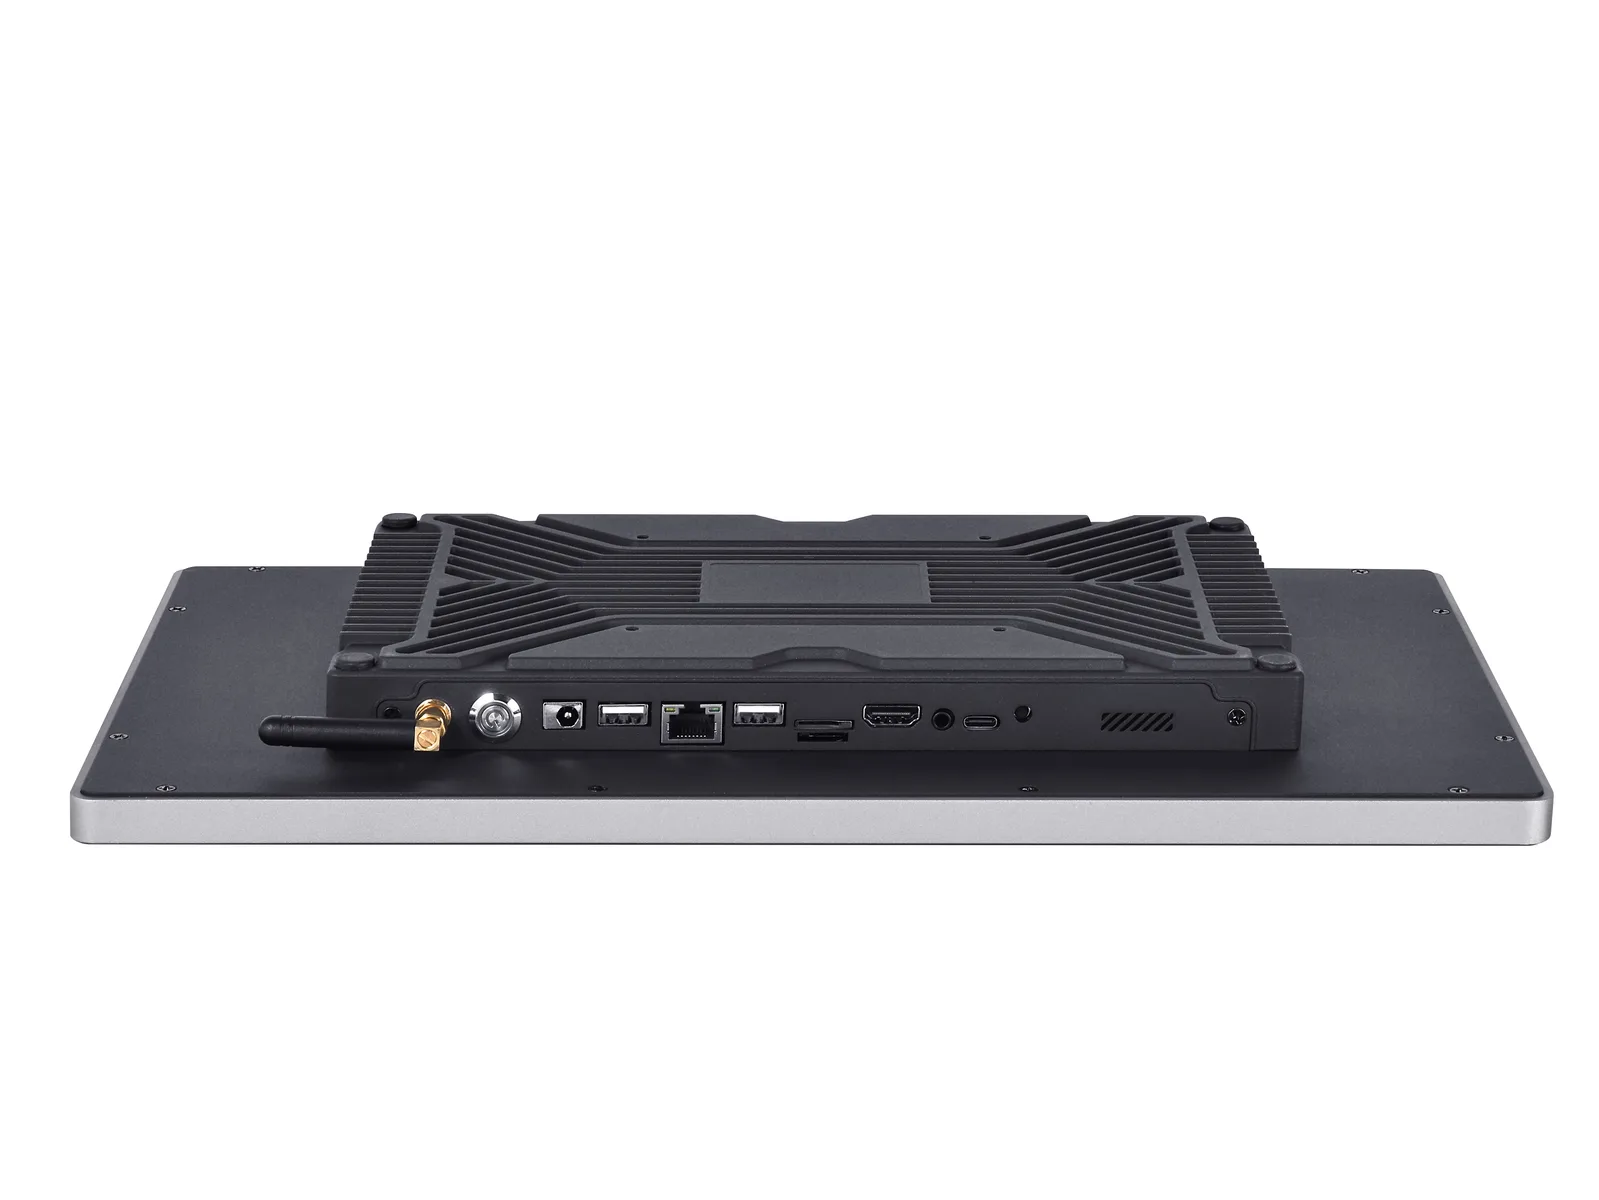
If the problem is visible before the operating system loads, check power, backlight, LCD panel and video signal first. If the image is normal but touch is wrong, focus on USB/I2C touch connection, controller, grounding and PCAP tuning. If the problem appears only after installation, check mounting pressure, cable route, EMI, heat, moisture and enclosure stress.
Defect Pattern Matrix
| Defect | Likely Cause | First Check | Repair Direction |
|---|---|---|---|
| No image | No power, wrong input, cable failure, main board failure. | Power LED, input source, known-good cable and known-good host. | Replace cable or power supply before replacing display. |
| Backlight on, black screen | No video signal, LCD driver issue or host output issue. | Try another input and test pattern if available. | Confirm controller board before LCD replacement. |
| Vertical or horizontal lines | Panel bond, LVDS/eDP cable, driver board or impact damage. | Inspect cable seating and check if lines change with movement. | Reseat cable, replace cable, then evaluate panel. |
| Flicker | Power instability, backlight driver, cable noise or refresh setting. | Test another power source and cable. | Fix power/cable first, then board or backlight. |
| Dead pixels or bright pixels | LCD pixel defect. | Use solid color screens and compare to pixel policy. | Replace only if outside agreed standard. |
| Yellow spots or dark patches | Heat, pressure, backlight aging or optical layer stress. | Check mounting pressure and operating temperature. | Remove stress or replace LCD/backlight assembly. |
| Touch not working | USB/I2C cable, controller, driver or host recognition. | Check touch device recognition and known-good cable. | Fix cable/driver/controller before replacing glass. |
| Ghost touch | Water, EMI, grounding, damaged PCAP sensor or pressure. | Test outside enclosure and review grounding. | Tune controller, fix grounding or replace sensor if damaged. |
Step-by-Step Diagnostic Workflow
- Record the symptom: take photo or video, note temperature, uptime, host system and installation condition.
- Separate display from touch: check whether the image and touch fail together or separately.
- Test power and cable: use a known-good power supply, video cable and touch cable.
- Test outside the enclosure: if the issue disappears, review mounting, grounding, EMI and cable strain.
- Compare with a known-good unit: swap only one part at a time to isolate LCD, board, cable or touch sensor.
- Decide repair or replacement: replace the smallest confirmed failed part when service access and cost make sense.
Display Defect vs Touch Defect
| Symptom Group | Display Side | Touch Side |
|---|---|---|
| Visible image problem | Lines, black screen, flicker, spots, dim image. | Usually unrelated unless caused by shared power or impact. |
| Input problem | Image remains normal. | No touch, offset, ghost touch, poor edge response. |
| Fails only after cabinet install | Mounting stress or thermal condition may affect LCD. | Grounding, EMI, gasket pressure or cable route may affect PCAP. |
| Fails in wet or cleaning condition | Condensation or sealing issue may affect image. | Wet touch tuning, water path or sensor damage may affect input. |
Repair or Replace Decision Table
| Finding | Repair First | Replace When |
|---|---|---|
| Loose or damaged cable | Reseat or replace cable. | Connector or board is damaged. |
| Power instability | Fix power supply, grounding or wiring. | Backlight driver or board remains unstable. |
| LCD line defect | Check signal cable and connector first. | Line remains with known-good cable and host. |
| Cracked cover glass | Replace touch glass if modular and available. | Bonded stack or LCD is also damaged. |
| Water ingress | Drying alone is not a durable repair. | Corrosion, delamination or repeated leakage is found. |
| Aging backlight | Check brightness setting and heat first. | Backlight output is below project requirement. |
Prevention for Future Builds
- Define display acceptance criteria before mass production.
- Use cable strain relief and avoid sharp bends near LVDS, eDP, HDMI or USB touch cables.
- Control mounting torque and gasket compression to avoid LCD or touch stress.
- Review heat path for high-brightness and enclosed equipment.
- Validate cleaning, wet touch, vibration or EMI according to the real application.
Field Failure Information to Collect
Good repair decisions depend on the information collected from the field. A vague report such as “screen broken” does not help engineering isolate the root cause. Ask service teams to capture repeatable evidence before replacing parts.
| Information | Why It Helps |
|---|---|
| Photo or video of the defect | Shows whether the issue is line defect, touch failure, flicker, water mark or physical damage. |
| Operating time and installation date | Separates early failure from aging, heat or lifecycle problems. |
| Environment at failure | Identifies sunlight, rain, washdown, vibration, cold start or chemical exposure. |
| Host and cable changes | Shows whether a software, driver, cable or power change caused the symptom. |
| Recovery behavior | Whether reboot, cable reseat or power replacement changes the issue. |
When Not to Repair in the Field
Some failures should not be repaired casually on site because they may hide safety, sealing or reliability risks. If water has entered the enclosure, if glass is cracked near the active area, or if corrosion is visible on electronics, replacement and root-cause review are usually safer than a quick temporary fix.
- Water ingress: drying the unit may make it work briefly, but corrosion can return later.
- Cracked cover glass: sharp edges, moisture entry and touch instability can create new failures.
- Burning smell or power damage: stop using the display until power and board safety are checked.
- Repeated ghost touch: do not keep equipment active if false commands can affect safety or payment.
Spare Parts and Design Improvement Plan
For OEM equipment, the repair plan should feed back into the next production build. If the same defect repeats, the issue is probably design, environment or process related rather than a random part failure.
| Repeated Failure | Possible Design Improvement |
|---|---|
| Touch cable loosens | Add cable lock, strain relief or shorter route. |
| Glass edge cracks | Improve edge support, frame tolerance and mounting torque control. |
| Backlight fades early | Review heat path, brightness setting and operating temperature. |
| Wet ghost touch repeats | Retune controller, improve grounding and redesign water drainage. |
| Line defects after vibration | Improve LCD support, cable retention and vibration isolation. |
Related Guides
FAQ
How do you identify an industrial display defect?
Start by recording the symptom, then separate display, touch, cable, power and host issues. Use known-good cables and hosts before replacing the display.
What causes lines on an industrial LCD screen?
Lines may come from LCD panel damage, a loose signal cable, connector issue or driver board fault. Check the cable and host before replacing the LCD.
When should a defective industrial monitor be replaced instead of repaired?
Replace it when the LCD panel, bonded touch stack, corroded electronics or backlight has failed beyond economical repair, or when field service risk is higher than replacement cost.